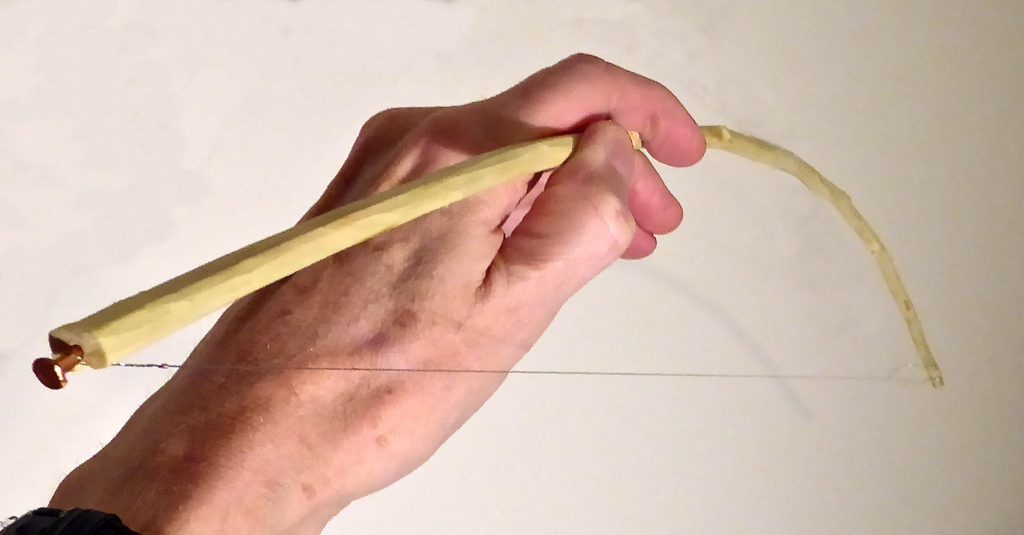
After reading a biography of Buffy Saint-Marie, I got curious about one of the instruments she played: a mouthbow. After listening to listening to several Youtube clips of mouthbows, I decided to make my own. I went out and found a fairly straight twig about as thick as my little finger; and took the bark off and shaved the butt end down with pocketknife and block plane so it would bend evenly across its length. I used a 010 loop-end steel banjo string I happened to have, attached the loop end to a copper tack in one end of the stick, and tied the straight end of the string through a 1/64″ hole I drilled in the other end of the stick. It looks like this:
When you play the mouthbow, the fundamental note of the string sounds as a drone throughout, while changing the mouth cavity brings out overtones to produce the melody — that combination of melody and drone sounds to me a little like a mountain dulcimer. While I make no claims to mouthbow virtuosity, here’s an audio recording of the instrument I made today:
Since your mouth cavity acts as the resonator, you can hear the mouthbow louder yourself than anyone around you can hear it. So I’m thinking this might be a good instrument to make with children: fairly easy to make, fun to play, quiet enough that it won’t drive everyone else crazy. However, if I do make it with kids, I won’t use a steel string: it’s too easy to hurt yourself if a steel string breaks; and something like nylon monofilament or linen thread would make for a quieter instrument.
Mouthbows were used by Indigenous peoples in North America, including California Indians: “Southern Yokuts men sometimes played the musical bow after settling themselves in bed; the Chukchansi in mourning the dead. These may be but two expreissions of one employment. Modern forms of the instrument have a peg key for adjusting the tension…. In old days a true shooting bow, or a separate instrument made on the model of a bow, was used. Mawu or mawuwi, was its name. One end was held in the mouth, while the lone string was tapped, not plucked, with the nail of the index finger; the melody, audible to himself only, was produced by changes in the size of the resonance chamber formed by the player’s oral cavity.” Alfred Kroeber, Handbook of the Indians of California, p. 542. Elsewhere, Kroeber says, “The musical bow is a device definitely reported from the Maidu and Yokuts, but probably shared by these groups with a number of others…. [It] was tapped or plucked….” p. 419. Kroeber also reports the musical bow being used by the Pomo and other tribes.
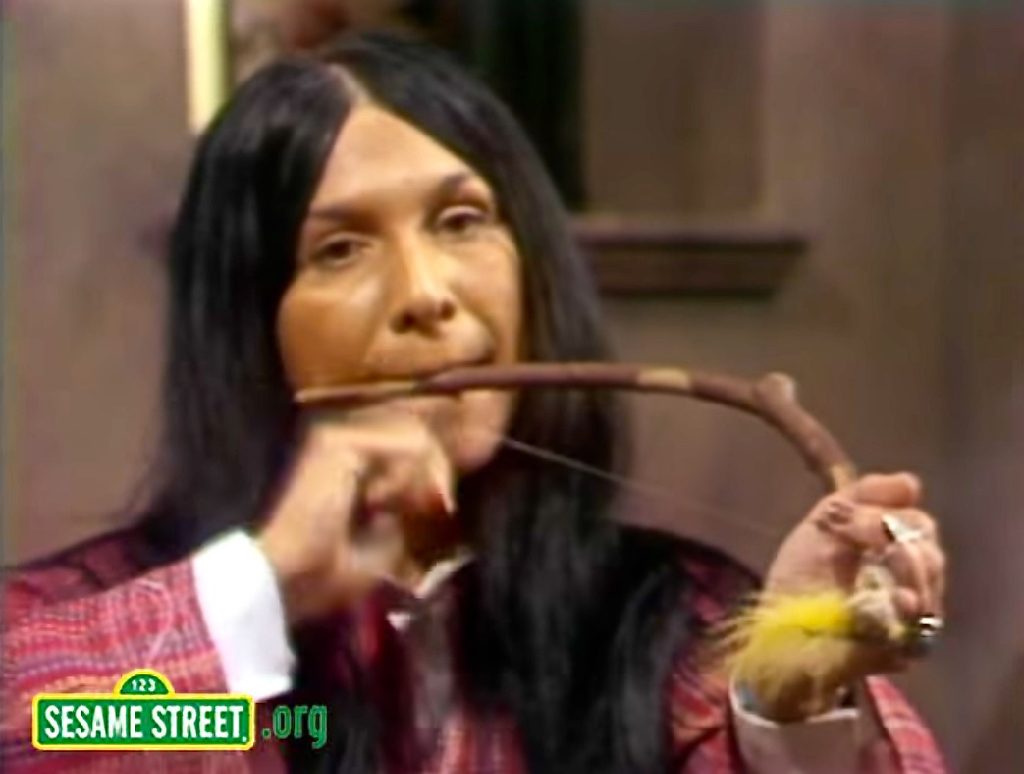
Buffy Sainte-Marie is probably the best-known contemporary player of the mouthbow, mostly because she played mouthbow on several television shows, including “To Tell the Truth,” “Sesame Street,” and the folk-music showcase “Rainbow Quest.” Sainte-Marie makes her own mouthbows; while they may look primitive at first glance, they are tuneable, and she writes: “I like to tune my bow precisely and work with other instruments, so I favor a geared peg, like the Grover peg in the picture.” Sainte-Marie’s blog post on making and playing mouthbows is excellent. Here’s Sainte-Marie playing the instrument on Sesame Street:
Notice that she holds the mouthbow at the end farthest from her mouth; that way, she can control the tension of the string, and thus adjust the pitch as she’s playing. By contrast, traditional Appalachian mouthbow player Carlox Stutsberry does not flex the tension of the bow to alter the tone:
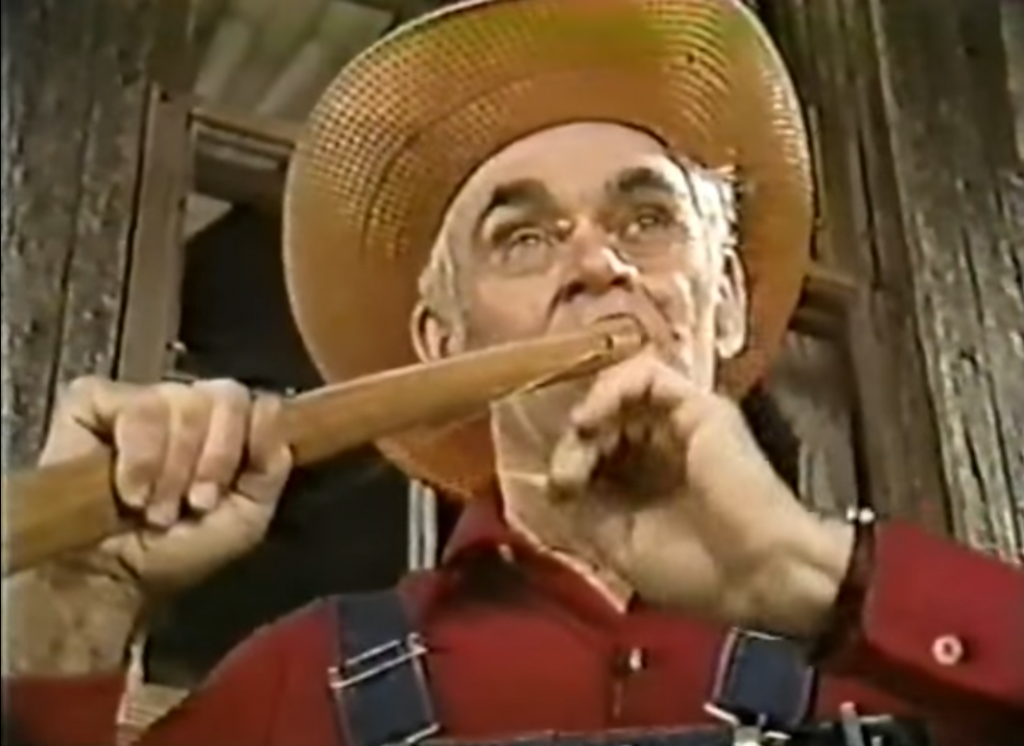
Both Stutsberry and Sainte-Marie pluck the mouthbow with a pick; however, the mouthbow can also be tapped (like the strings of a hammered dulcimer), or bowed. South African jazz musician Pops Mohamed plays mouthbow using a bow:
If you search Youtube for “mouth bow,” you can find quite a few modern practitioners of the instrument. But only a few of them are worth listening to, including Pops Mohamed, Carlox Stutsberry, and Buffy Sainte-Marie; clicking on the photos above will take you to videos by those three.