Plant presses and nature collage art

I’m in the process of developing curriculum for a couple of different eco-spirituality programs I’ll be co-leading this summer. One of the people I’ll be working with, Jessica, a former environmental educator who’s now the DRE at the Northhampton UU congregation, floated the idea of pressing plants.

Now, plant pressing is usually done to prepare specimens for an herbarium. But Jessica found a lesson plan in the Project Wild Aquatic curriculum book which uses a plant press for a process art project. You assemble a collage of aquatic plants (or really, any kind of plant) between sheets of porous paper, and press in a plant press. As the plant is pressed, the paper absorbs some of the colors of the plant. Wait a week till it’s dry, and you have a cool collage.

This activity kind of resembles flower pounding (see lesson plan #24 on this webpage). It also introduces participants to the use of a plant press — a standard botanical tool/process — which is a nice addition.

Still working on refining this activity for use with kids in a summer camp setting. We’ll see where this leads. In the mean time, a couple of resources: Plant presses for the classroom | Herbarium Supply Co.


Update, later the same day:

Here are my instructions for a cheapo plant press, cobbled together from several online sites:

You’ll need fifty 3×5 file cards, two pieces of corrugated carboard cut to 3×5 inches, and two strong rubber bands. Place a flower in the middle of the stack of file cards. Put the rubber bands around everything (see the drawing). Let dry for a week or more. When dry, glue the dried flower to the index card using white glue.

Sketch of the flower press described in the text

Snowdrops are starting to bloom outside our front door, so in a couple of days I’ll be able to give this a try in the real world.

(And here’s the follow up post where I actually make one of these.)

Pounding flowers

One of the best projects we did in Nature Camp last week was “Pounding Flowers,” a project from the book A Little Bit of Dirt: 55+ Science and Art Activities To Reconnect Children with Nature by Asia Citro (Woodinville, Wash.: Innovation Press, 2015), pp. 72-73. The idea is to collect several different flowers, arrange them on a piece of watercolor paper, cover them with paper towels, and pound the heck out of the flowers so that they release their juices which are then absorbed by the watercolor paper.

Our campers, who were ages 6-7, particularly enjoyed pounding the flowers with rubber mallets. So did we adults: the feel of the impact of the rubber mallet on a hard concrete floor was satisfying in itself, and the addition of the flowers sandwiched between towels and watercolor paper was even better.

(Photo courtesy of Ecojustice Camp; parents provided a media release for this child.)

But I was not entirely satisfied with this project myself. The paper towels did not work very well; they tended to shred under heavy pounding, and the flowers tended to shift under them. So tonight I tried something different. I collected some flowers; arranged them on a piece of watercolor paper on a smooth concrete surface; then instead of paper towels I laid another piece of watercolor paper over the arrangement, and pressed gently down.

This worked extremely well. It was even more satisfying to pound on, because the top piece of watercolor paper didn’t shred, and it didn’t shift much. When I was done, I got two pieces of pounding art, mirror images of one another. And, best of all, this process yielded more detail of the flowers: I got distinct outlines of the petals or pistils in some cases.

This was a very fun process art project to begin with, and by sandwiching the flowers between two pieces of watercolor paper it got even better.

Compact camp cook box

I’ll be driving across the continent by myself during July, camping for about two and a half weeks of that time. The camp cook box we have is big because it’s designed for two or more people. I decided to make a more compact camp cook box for this trip.

I found an old wooden wine create we had in the basement, did extensive repairs, and sealed it with some leftover wood sealer. A standard plastic dishpan fit perfectly inside, and I attached two wood strips for the dishpan to slide on. I made a small cutting board, elevated on wood runners so there’s storage space under it.

The dishpan holds a 2-quart pan with a teapot nested inside, a 1-quart pan, a mug, a small wood box with a sponge and scrubbing pad, dish detergent, and matches in a waterproof case. Under the wood cutting board there’s a cloth tool roll with various kitchen utensils (measuring spoons, stirring spoons, vegetable peeler, can opener, etc.).

I didn’t buy anything except the dishpan; everything else was something we had lying around. I spent too much time hand planing the wood for the cutting board, then hand-rubbing it with chopping block oil. And I used no power tools, which also took more time. But who cares if it took too long? Who cares if the various parts and pieces don’t quite match? I had fun working on it. This kind of project is like process art: the final product is less important than the process of making it.

A day at Nature Camp: insects, process art, stories

The second day of Nature Camp started with opening circle, as always. Our kindergarteners and first graders sat in a circle, and we sang one of the songs we learned yesterday, “The Earth Is Our Mother,” and the children remembered it well enough that they told me when I sang one of the verses wrong. Abby read a short story about Wangari Maathai, one of our Nature Camp elders. Kris also showed us a slug that she had found that morning, and we spent some time watching it before we released it in a shady place.

Then Kris introduced the them for the day: insects. Kris read some excerpts from Simon & Schuster Children’s Guide to Insects and Spiders. We learned what an insect is, and we learned the three parts of an insect (head, thorax, and abdomen). Kris also read to us a little bit about butterflies and moths, or Lepidoptera.

Kris next told us that we were going to make some pitfall traps to catch some insects, by burying a plastic cup in the ground. We learned the ethics of pitfall traps: you have to empty them regularly (at least once a day) to be sure the insects don’t die, and they should not be placed in full sun (the hot sun can kill any insects that fall in them).

The children enjoyed finding shady places to put the traps, and then digging holes in the ground with trowels and placing the plastic cups in the holes. Each child got to put at least one insect trap in the ground. While we were doing this, we stopped at the plum tree and managed to find a few more ripe plums to eat, enough for every child who wanted one to have one.

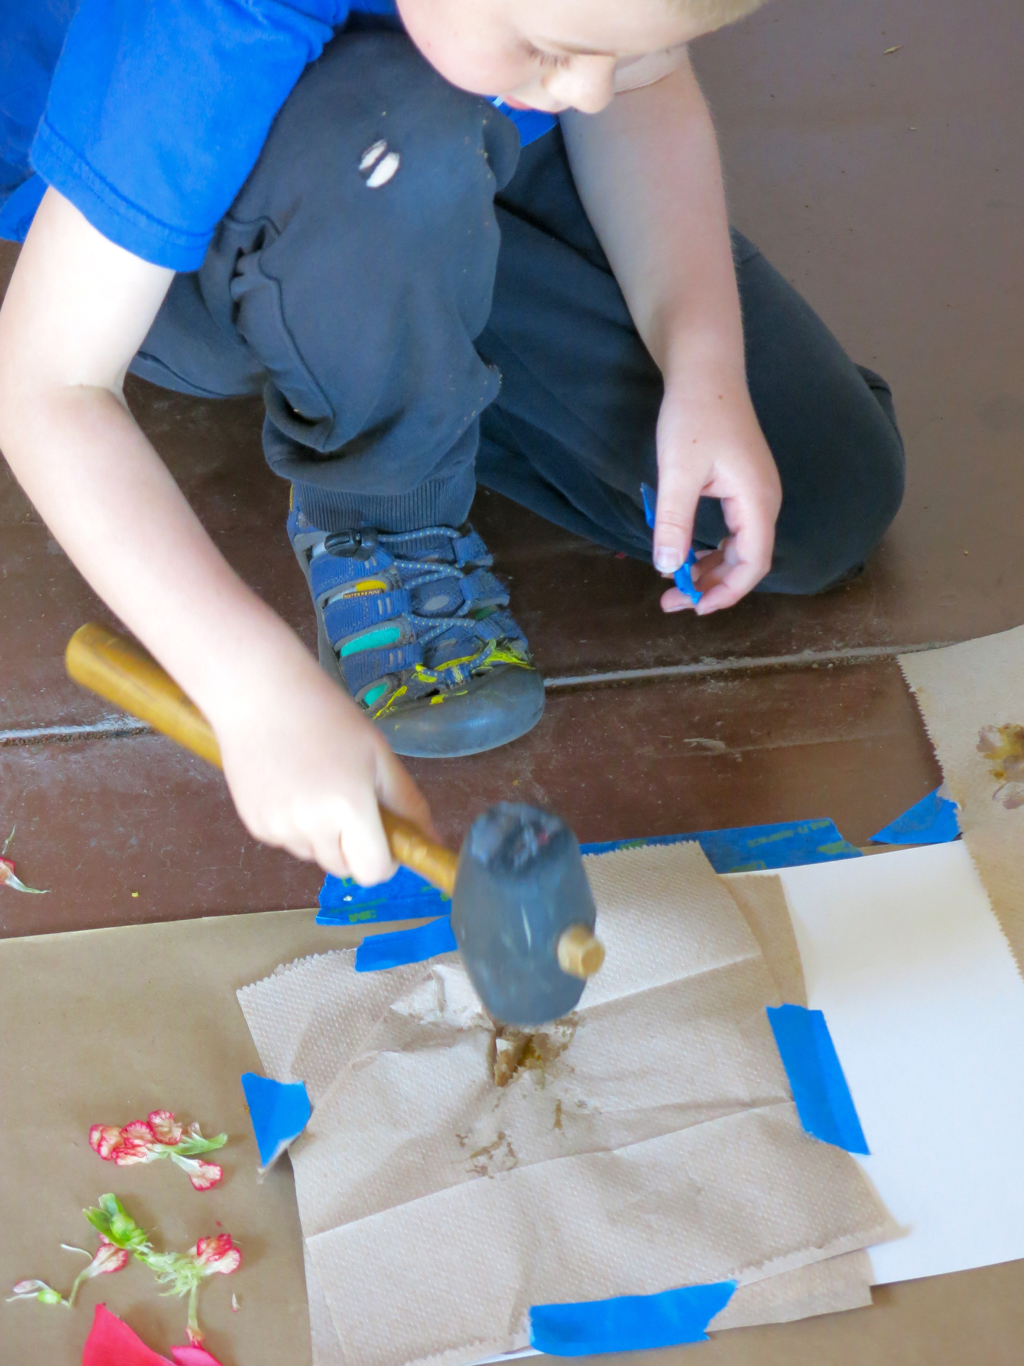
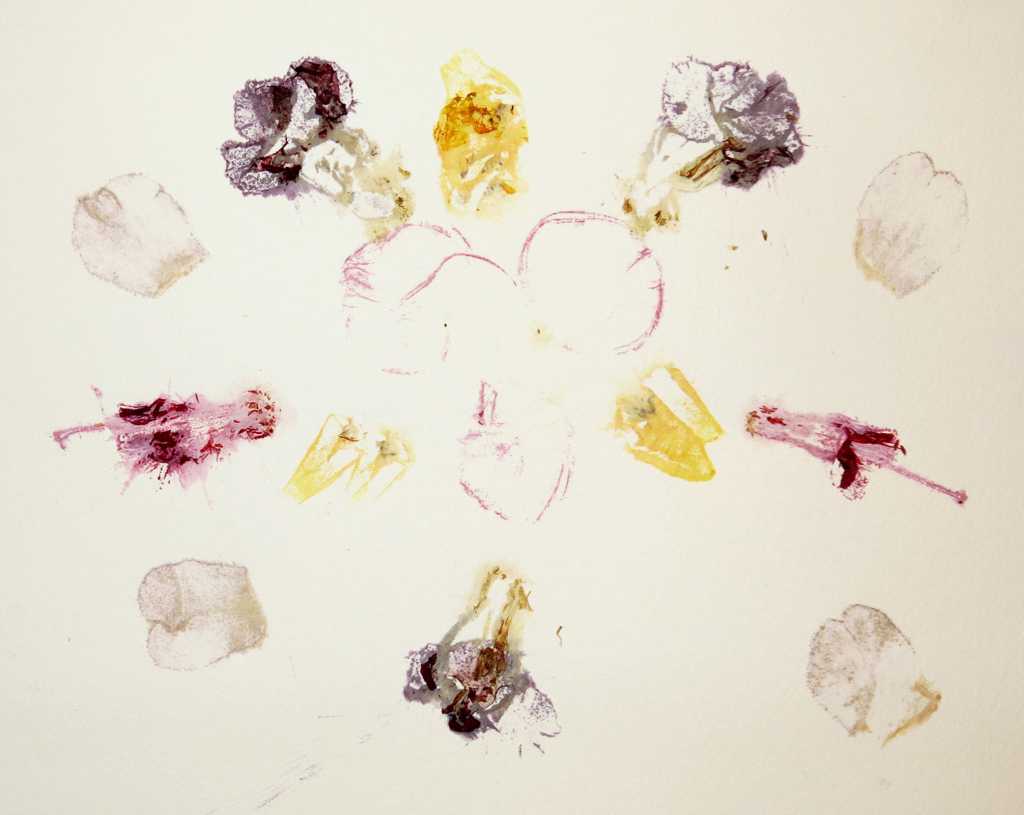
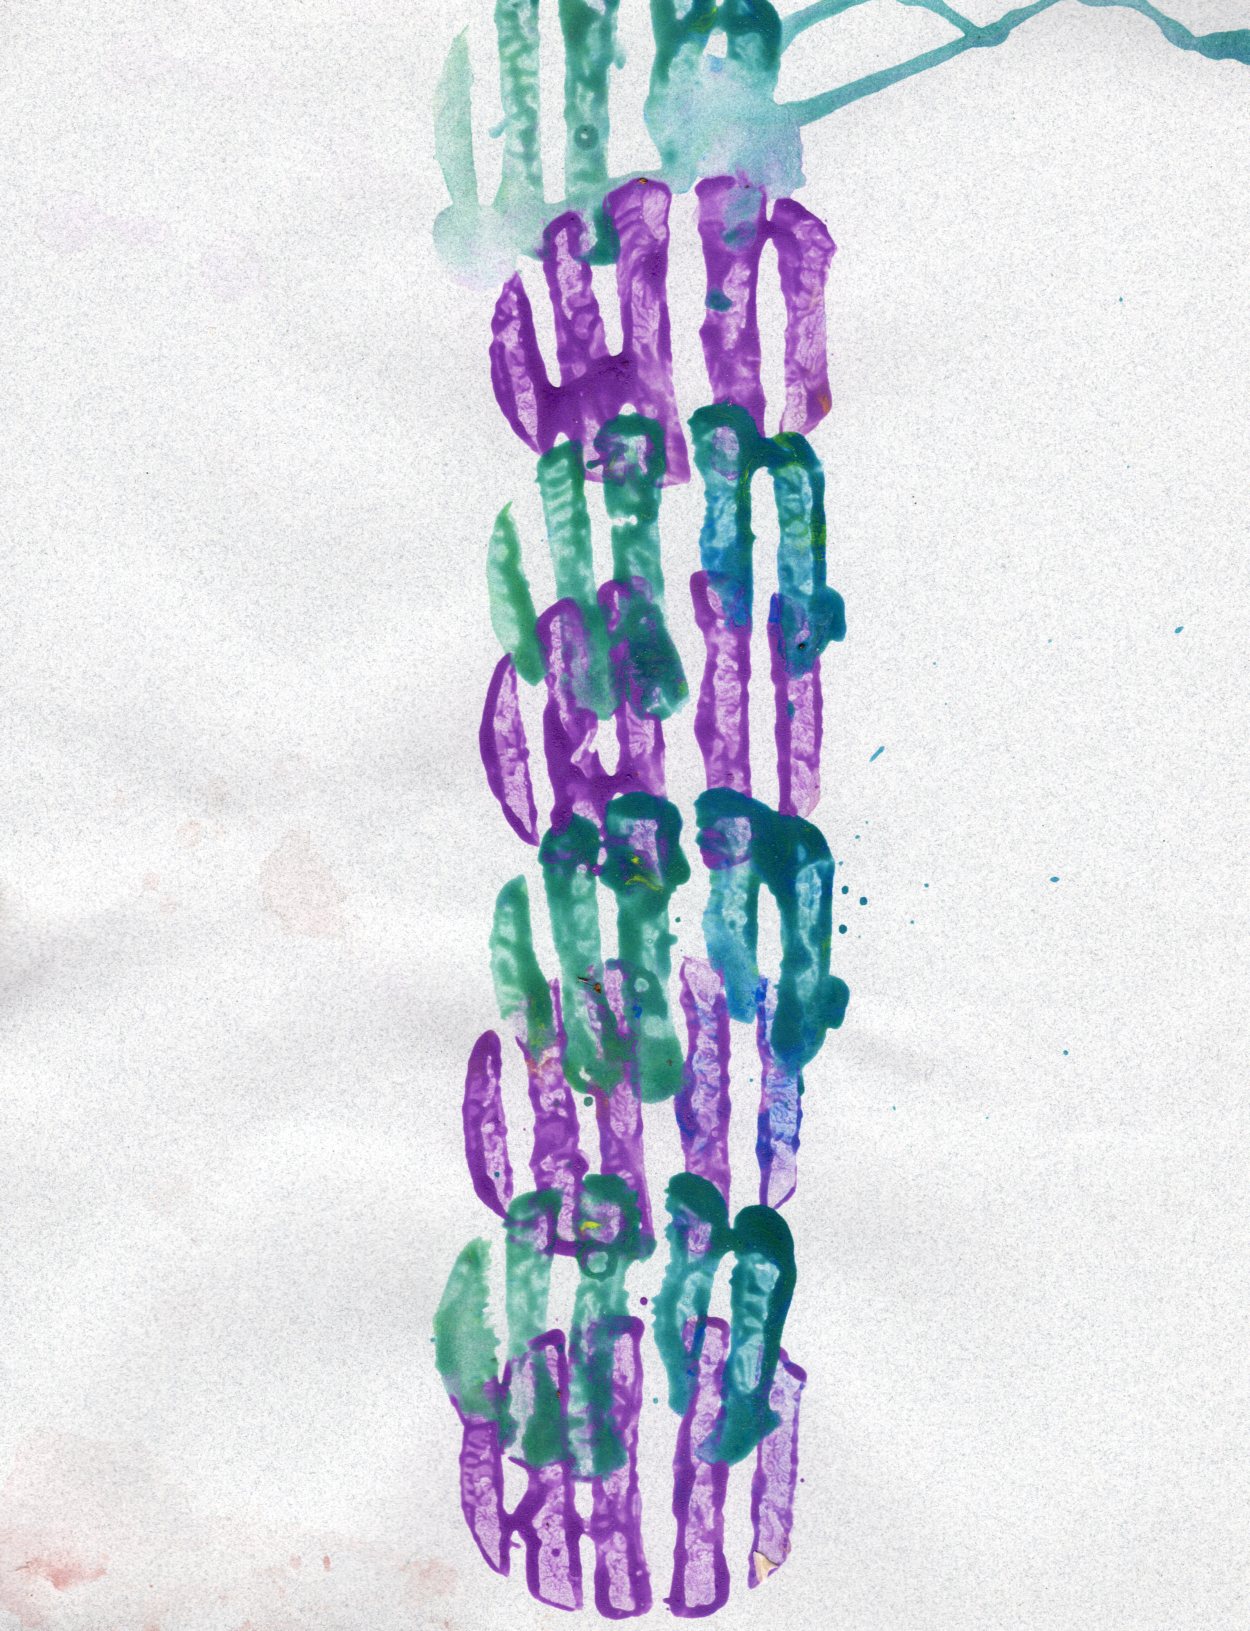
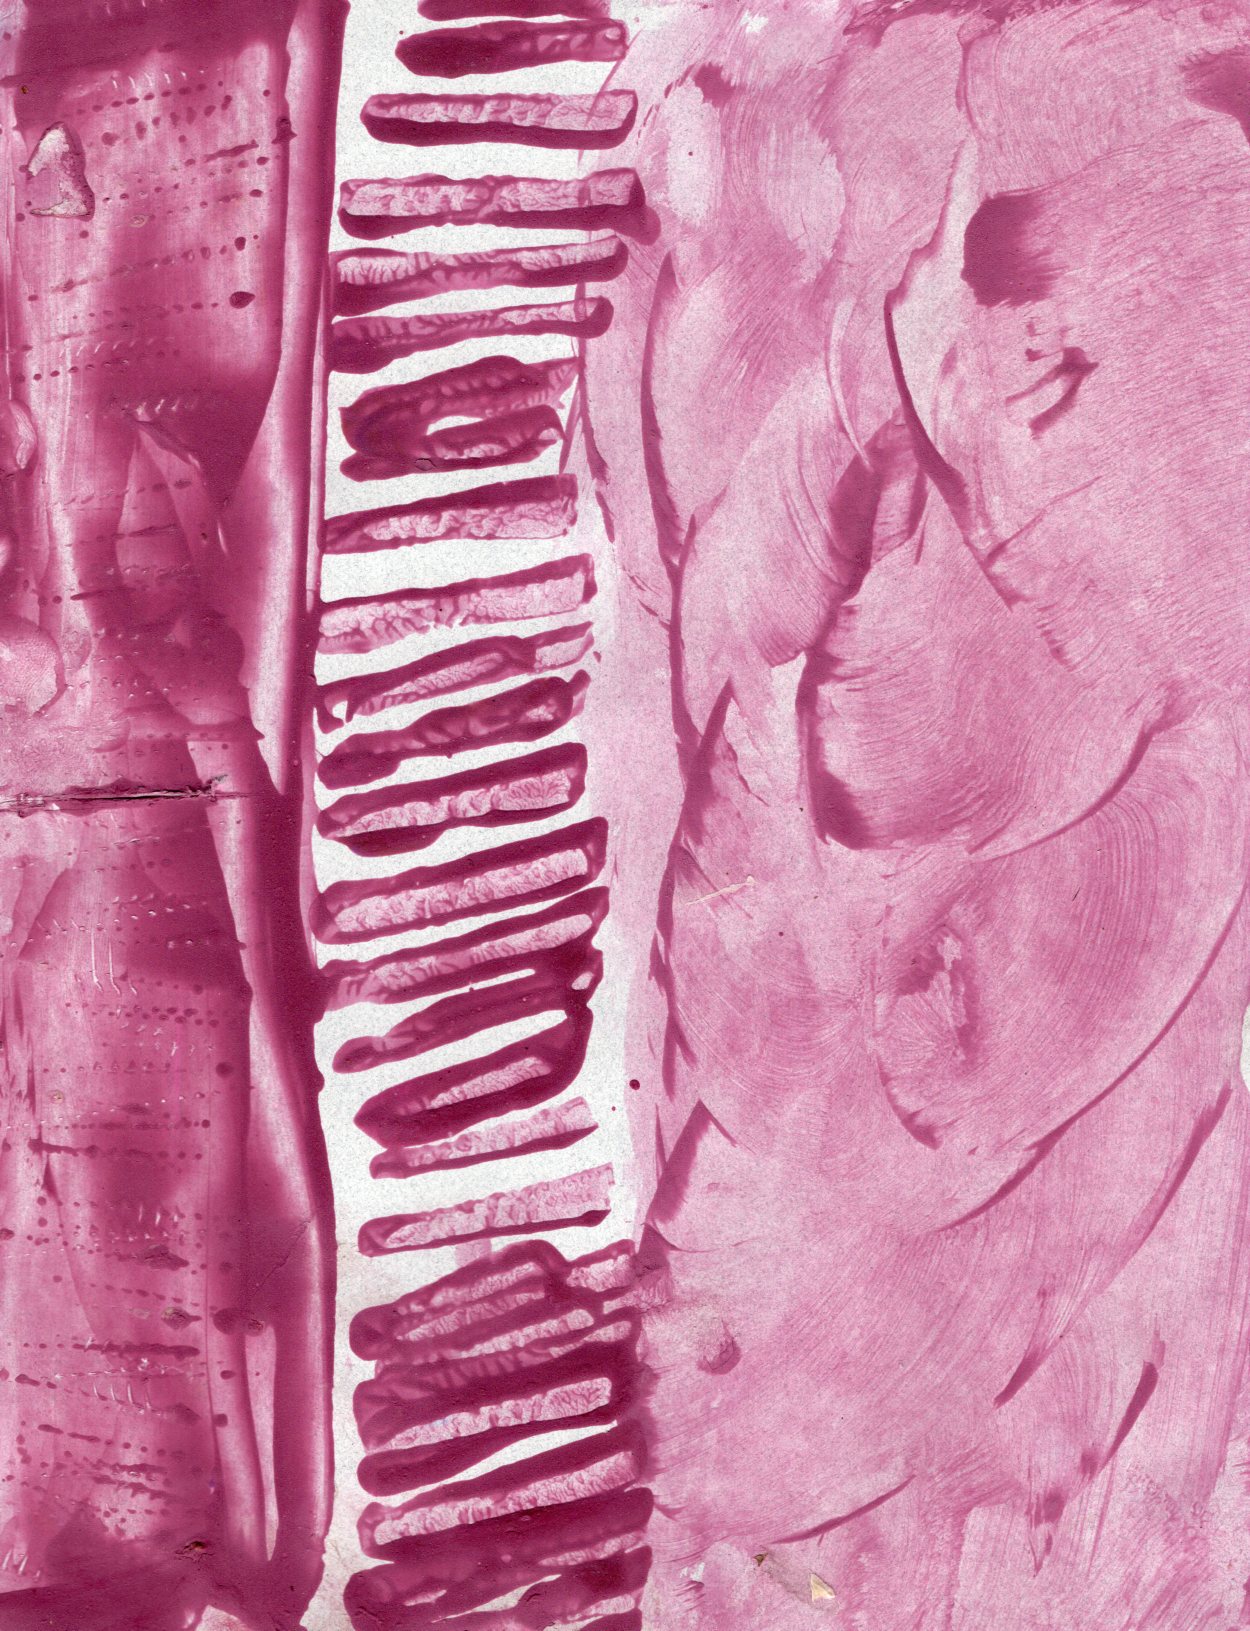
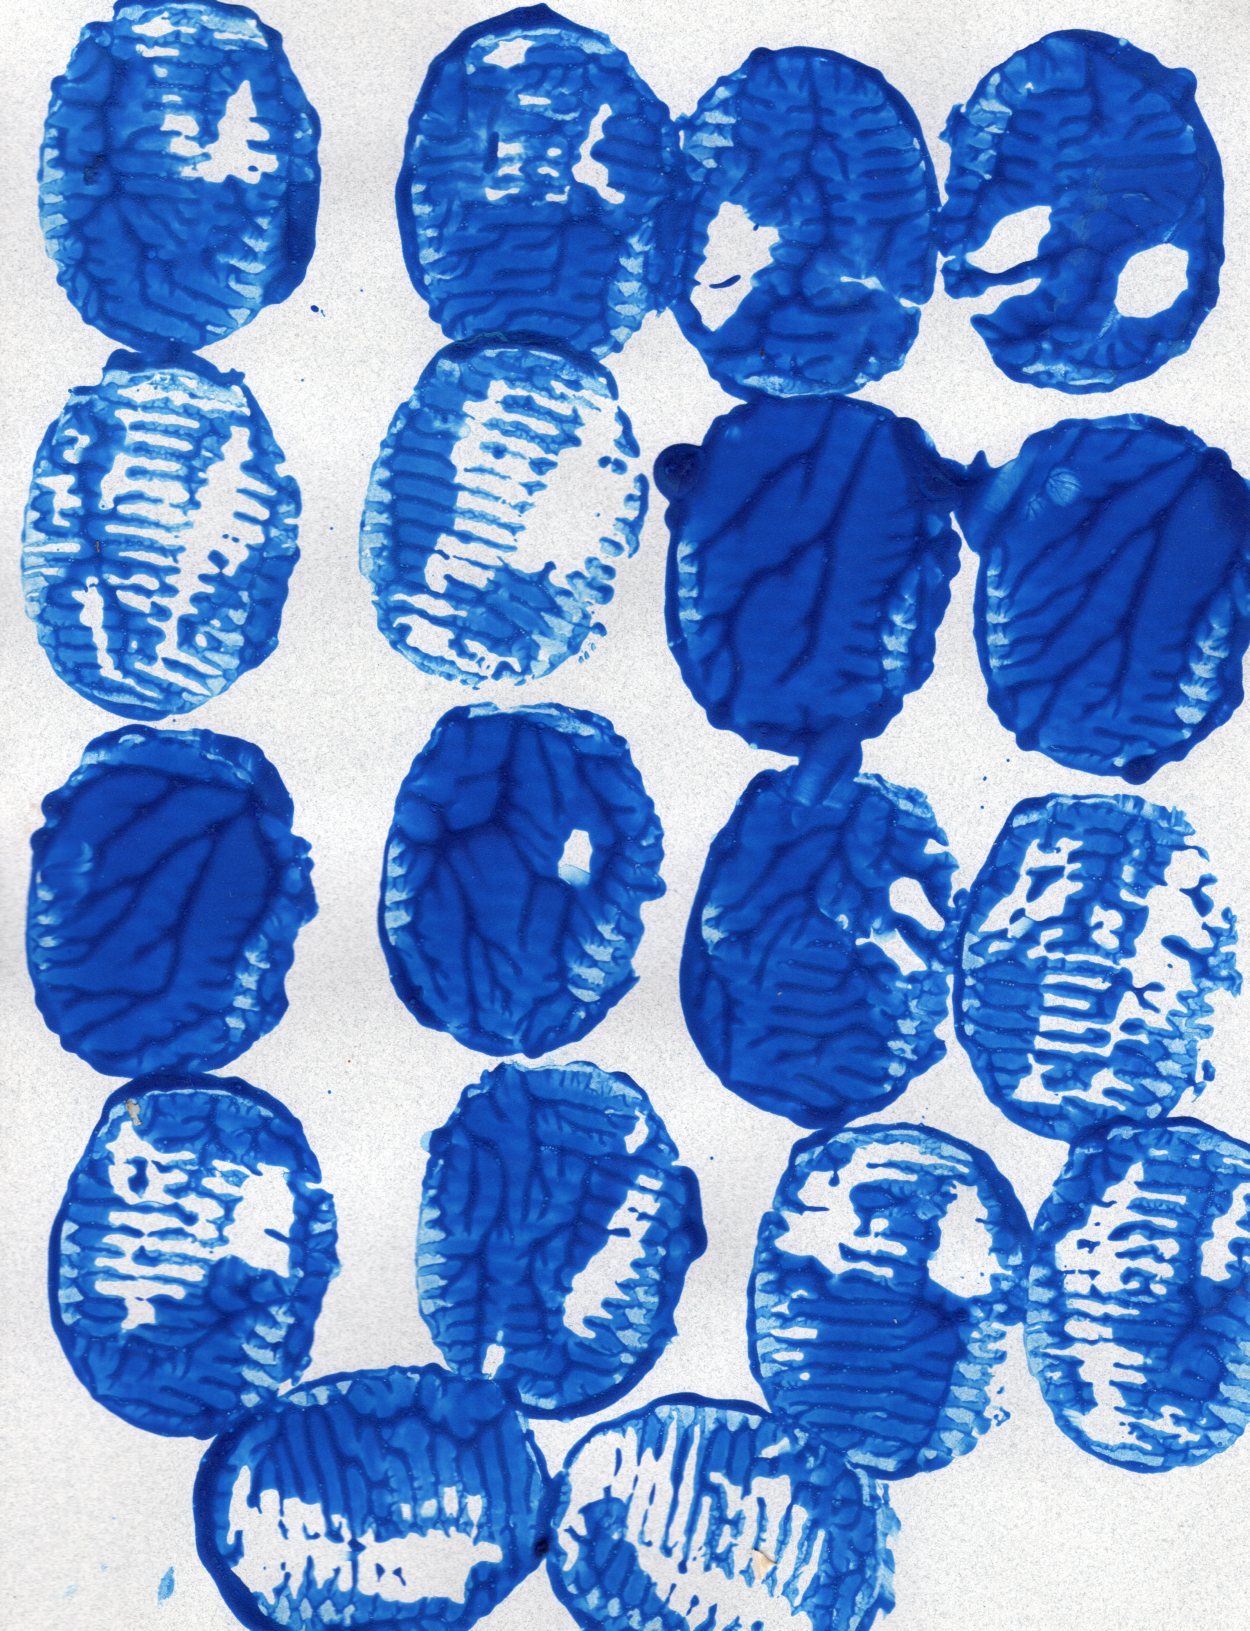
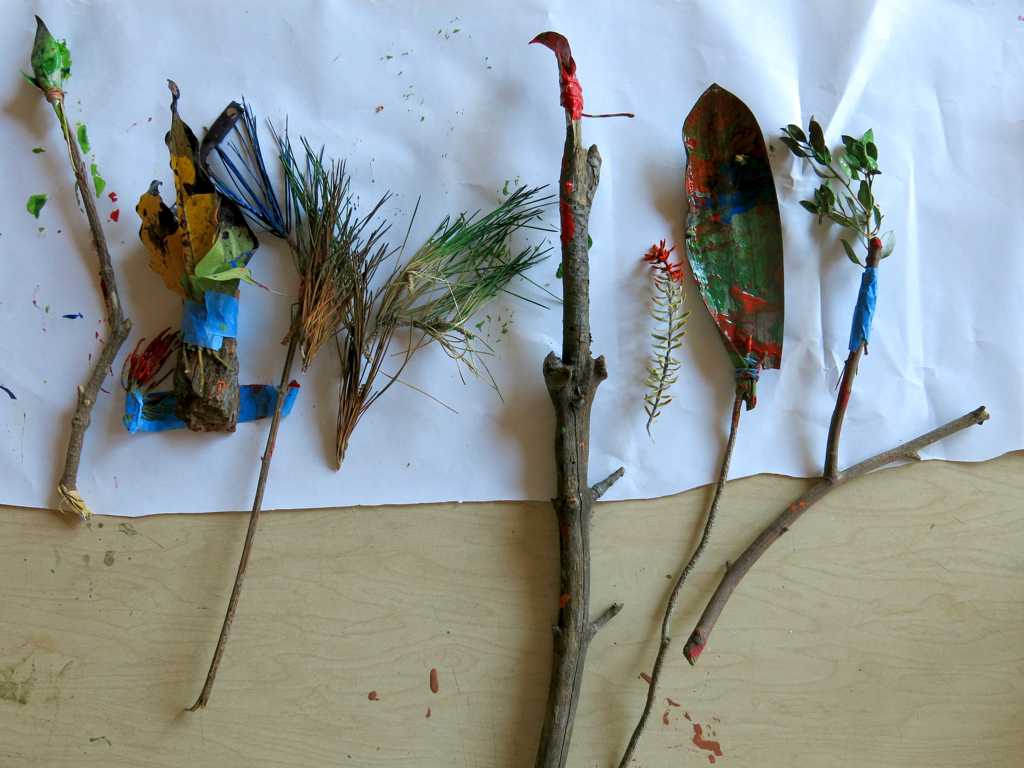
The highlight of the morning for me was Abby’s “natural paintbrush” project. The children got sticks (the handle of the paintbrush) and then attached leaves or pine needles or some other natural object to the stick with masking tape or rubber bands.

We taped large sheets of paper on two tables, and provided red, yellow, and blue tempera paint. The children enjoyed mixing their own colors, then spreading the colors with the natural paintbrushes.

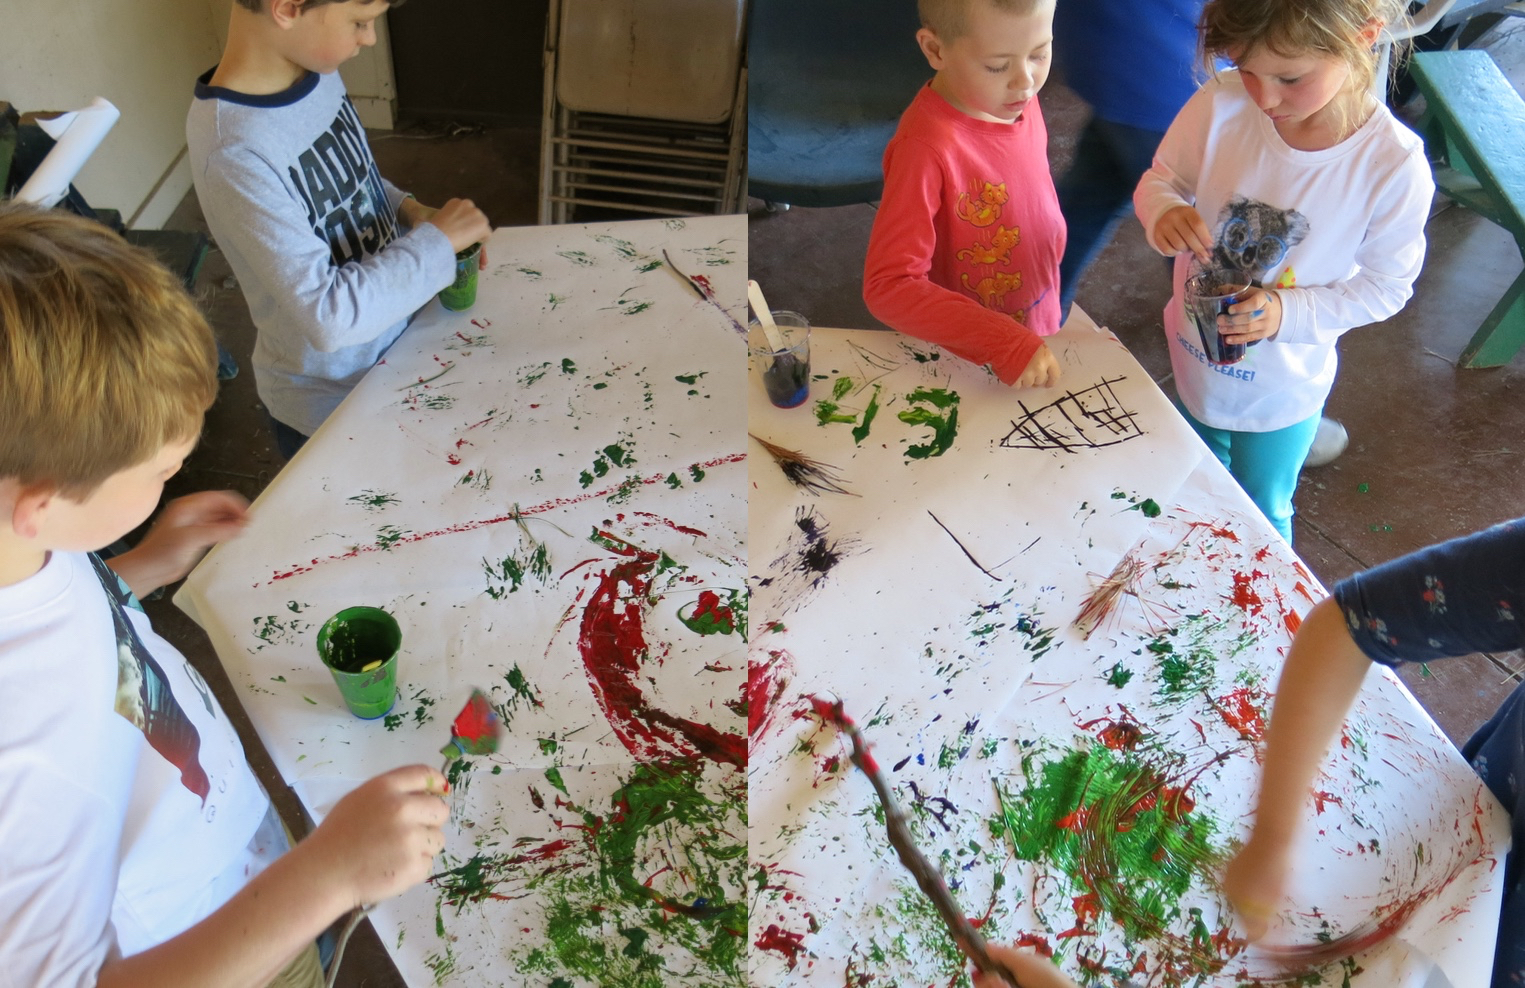
It was a great example of process art, since there was no “product”; instead the whole emphasis was on exploring the materials and colors.

After we painted for a while, it was time to walk over to Mitchell Park to play on the trees and eat some lunch. The children particularly enjoy climbing a tree that has a long branch that is almost horizontal the the ground, sloping gently upwards. It’s the perfect challenge for this age group. One or two of the children felt comfortable walking along the branch, but most of them moved along slowly, clasping it with legs and hands. Kris told them that they should only climb as far as they felt safe; at the same time she gently urged them to go a little beyond their comfort zones. One child was pleased to find that he could make it further along the branch than he thought he could.

While we were eating lunch, two California Gulls landed not far away and started fighting over some trash. We talked about how gulls like to eat trash, and I described the gull nesting colony near Charleston Slough. I also expressed my opinion that gulls are not particularly pleasant birds: they are loud, and messy, and kind of aggressive. While we were eating lunch, we also saw some butterflies flying by probably (Western Tiger Swallowtails), but it was breezy and the butterflies went by very quickly.

After lunch, Kris had a book that showed us how to draw slugs and butterflies. The children each drew some slugs and butterflies in their nature journals. One child drew a slug very carefully, trying to make it the same color as the one we had seen earlier in the morning. Another child drew a large number of slugs, and then dots all over them which he said was salt that was killing them. We talked a bit about why salt might kill slugs.

At last it was time to go back for closing circle. We sang “The Earth Is Our Mother” again, which the children knew really well by now, as well as “The Adaptation Song” which has a verse about how California Gulls adapt to their environment. To close the day, Kris read part of an Arnold Lobel book about a grasshopper.

All in all, a very satisfying day at Nature Camp. We worked on fine motor skills, gross motor skills, and knowledge about the natural world. Most importantly, we just spent time in nature, looking, touching, playing, being.

Note: We have media releases for all children depicted above. Nature Camp is sponsored by the Unitarian Universalist Church of Palo Alto.

Process art: veggie printmaking

For summer Sunday school today, I wanted to do some process art. (In process art, you have fun with the process and don’t worry about the final product.) I decided to do veggie printmaking, using cut vegetables dipped in thick paint to make prints. One of the children today said it’s like stamping, except you use veggies instead of rubber stamps.

veggieart007

In the end, 14 children showed up, ranging in age from 3 to 13. It was a little challenging to keep the three preschoolers supplied with paint and veggies, although ultimately some of them stuck with it longer than the big kids. For paint, I bought a ten-pack of Crayola Washable Kid’s Paint. It’s thick enough to use for this project. The children liked some of the colors better than others. The dark blue and the light blue were especially vivid and fun to print with, and today we used up most of each of those 2 oz. bottles.

For veggies, I had a 5 lb. bag of potatoes, 3 apples, 4 carrots, 2 stalks of celery, and an eggplant. We used almost all the veggies today. I also had blunt-tipped serrated steak knives that the big kids could use to cut designs into the apples and potatoes. Some of the big kids tried elaborate designs like hearts and stars, but a third grader made the design I liked best: simple stripes:

veggieart006

The apples proved to be a lot of fun to print with. They were pretty juicy, so they diluted the paint. Some of the children loaded them up with paint, and then rubbed them around on the paper. Here’s a print where a child did just that:

veggieart004

Another fun thing to do was to use the serrated knife to cut a potato in half. This leaves a textured surface, which makes really interesting images:

veggieart005

Printmaking lasted about thirty minutes, and then we transitioned into a game of tag. Most of the prints were pretty forgettable, and most of the children did not bother to take their prints home. Of course, that was the point: the fun was in the process.