
Carol and I are experimenting with low-water irrigation systems for the garden. I’ve been using porous hose irrigation for years, purchasing porous hose made from recycled rubber tires, and burying the hose a few unches under the surface of the soil. David Bainbridge’s book Gardening with Less Water: Low-Cost, Low-Tech Techniques shows other highly efficient irrigation systems, including buried clay pots.
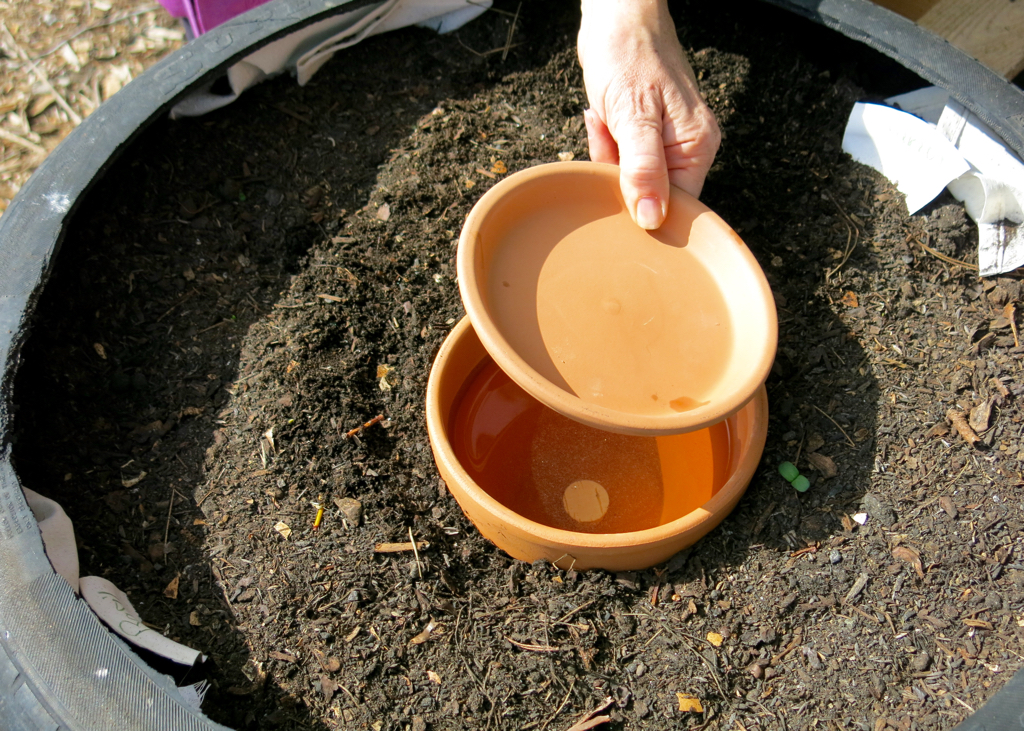
A buried clay pot is about as simple as an irrigation system can get: take a terracotta pot, put a cork in the hole in the bottom, bury it almost all the way in the soil, fill with water, then cover with a terracotta saucer.
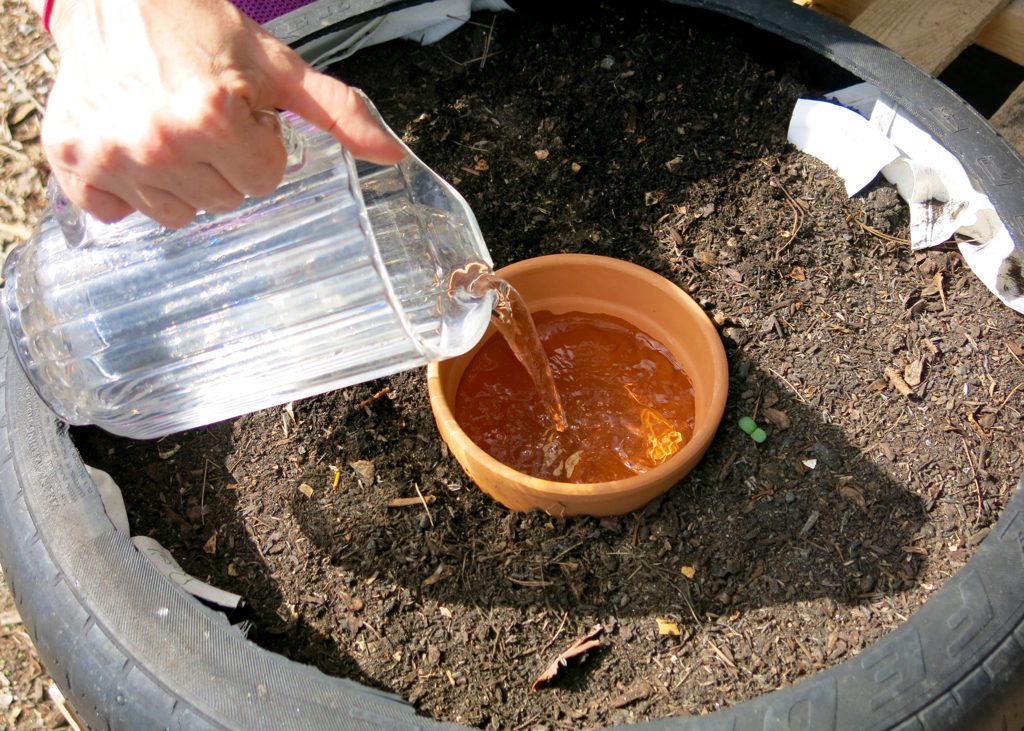
In the photo above, we’ve buried a clay pot in the tire garden built by our congregation’s ecojustice class, and Carol is filling it with water. In the next photo, Carol is about to put a lid on the buried clay pot; you can see the cork down in the bottom of the pot.
Bainbridge suggests placing buried clay pots about every 24-36 inches in a standard garden. So we figure that one buried clay pot is probably enough for one tire garden. It will be interesting to see how often we have to fill the clay pot.
In our garden at home, we’re planning to try a somewhat more complicated version of this system: a porous terracotta capsule, fed by a hose. Until we get that to work, here’s a photo of the tire garden with the buried clay pot in the middle, and the squirrel-proof cage in place:

What tools and supplies for the squirrel cage?
The squirrel-proof cage was made out of chicken wire — 48 inches wide, 1 inch mesh. The only tools used were wire cutters and pliers. However, if you’ve never worked with chicken wire before, I recommend wearing protective gloves.
Method was as follows: Measure the circumference of the tire garden. Cut a piece of chicken wire that’s about 3 inches longer than the circumference. (To cut the chicken wire, use the wire cutters and snip the wire one at a time up one row of the hexagons that make up the chicken wire.) Next, wrap the chicken wire around the tire garden. Then, starting at the base (where the wire touches the tire), loop the cut end of one piece of wire over a hexagon of the chicken wire, and use the pliers to wrap that cut end around that hexagon so it’s secure. Do that for every ros of hexagons up to the top of the tire. Note that you want the chicken wire to fit snugly, but not so tight that you can’t pull it off the tire garden. You may have to experiment a bit to get the fit right.
Once you have the chicken wire secured around the tire garden, and you’ve confirmed that you’ll be able to pull it off, continue attaching the cut wires to the other side. When done, you’ll have a cylinder made out of chicken wire. This whole process takes time, so you’ll need patience! However, once you make one, it should last 5-10 years, or even longer.
The easiest way to close off the top is to bring two sides together, and attach them — you can attach them with wire, or you can snip the chicken wire every other hexagon or so to leave loose ends of wire that can be wrapped around a hexagon from the other side that you’ve folded in. (The squirrel-proof cage shown in the photo used another method for closing in the top, but that other method was way too much work. Later, I made squirrel-proof cages with the method described here, which worked just as well and was much quicker.)
Hope these instructions make sense. We’ve just moved and my tools are all packed up, plus I’m starting a new job and don’t have time to make a photographic essay. If something doesn’t make sense, email me to ask questions.