I love the green valleys in northeastern Nevada, nestled along the Humboldt River and minor creeks and seeps. At the lowest points, where there is water, everything is bright green at this time of year. As the land gets higher, the green turns to the silver-green of sagebrush, and then brown, and then the high rugged mountains tower over everything else. Every once in a while, you’ll see a ranch house at the boundary between the well-watered low lands and the sage brush.
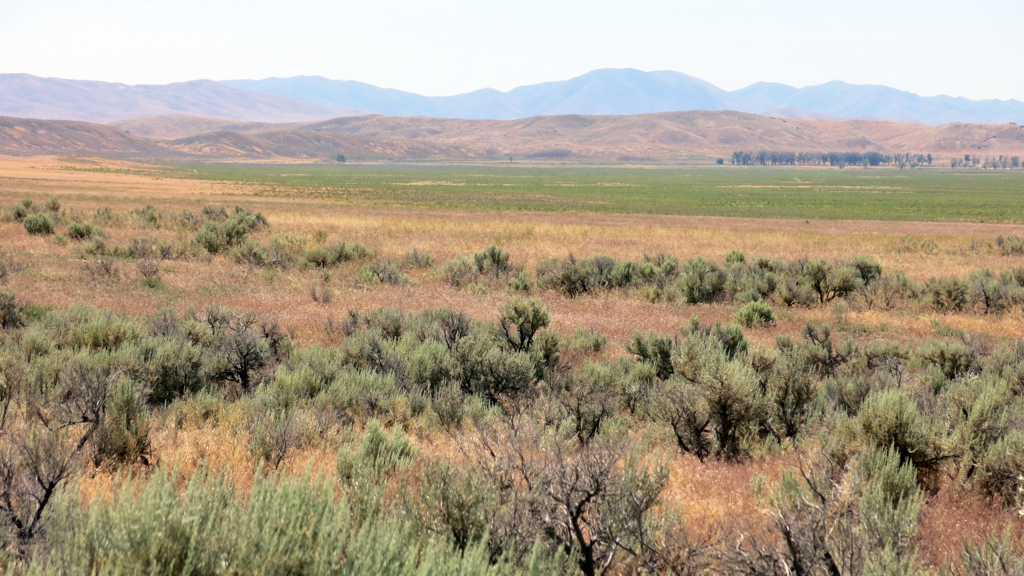
Above: Near Beowawe, Nev.
We drove over the pass to Wells, Nev. Once we got above about 4000 feet, most of the land was green, or somewhat green, and there were enough small trees that you might almost call it a forest. At these high elevations, the green well-watered land near watercourses backed right into mountain slopes that were also green, though less vividly so. The peaks of some of these mountains still had bright white patches of snow near their peaks.
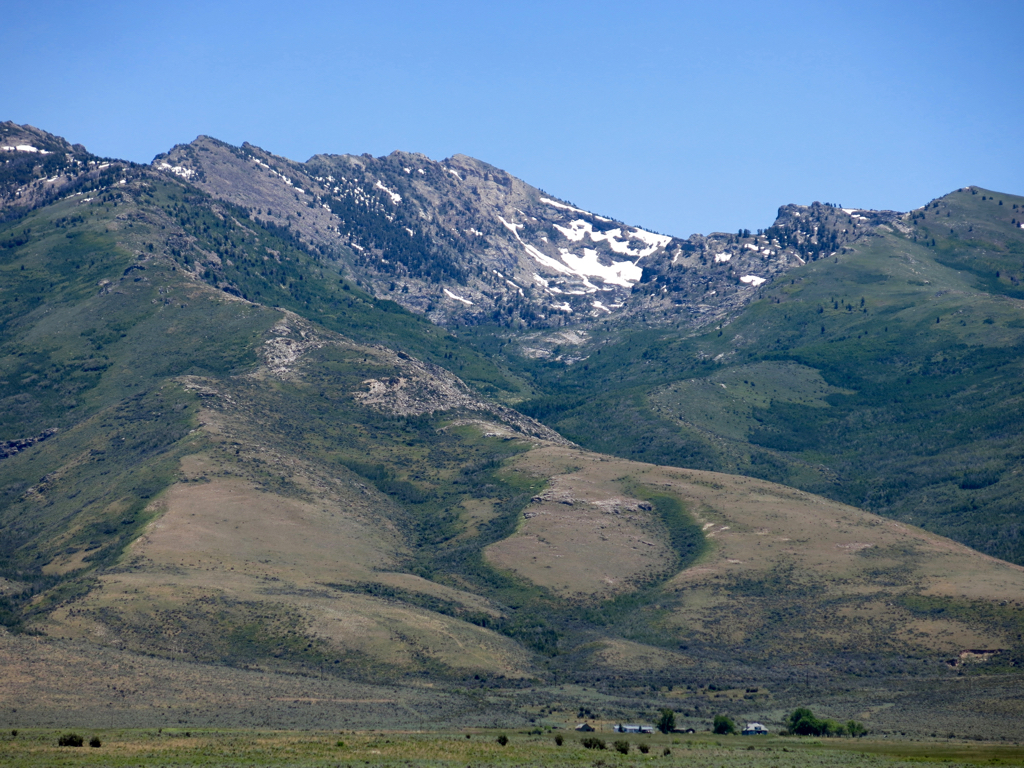
Above: About 10 miles west of Wells, Nev.
Northeastern Nevada would be a beautiful place to live. Not that I’d actually want to live there myself. Making a living from agriculture wouldn’t be easy, and the other major industry, resource extraction, would be just as hard and less beautiful. Plus this part of Nevada is heavily Mormon, and I am not a Mormon. So I wouldn’t want to live there, but when you drive past those pretty green valleys at 75 miles an hour, it’s fun to fantasize about how beautiful it must be.
We drove out of Nevada and into Utah, across the salt flats. It was hot, and we kept seeing what looked like large bodies of water, but they were just mirages. Carol looked to the north, across the other half of the interstate highway, and there was a mountain standing in water that was higher than the level of the roadway. Or was it a strange undercut mountain-island floating in midair? Of course it was a mirage, but it was beautiful, and I wanted it to be real even though it was not.
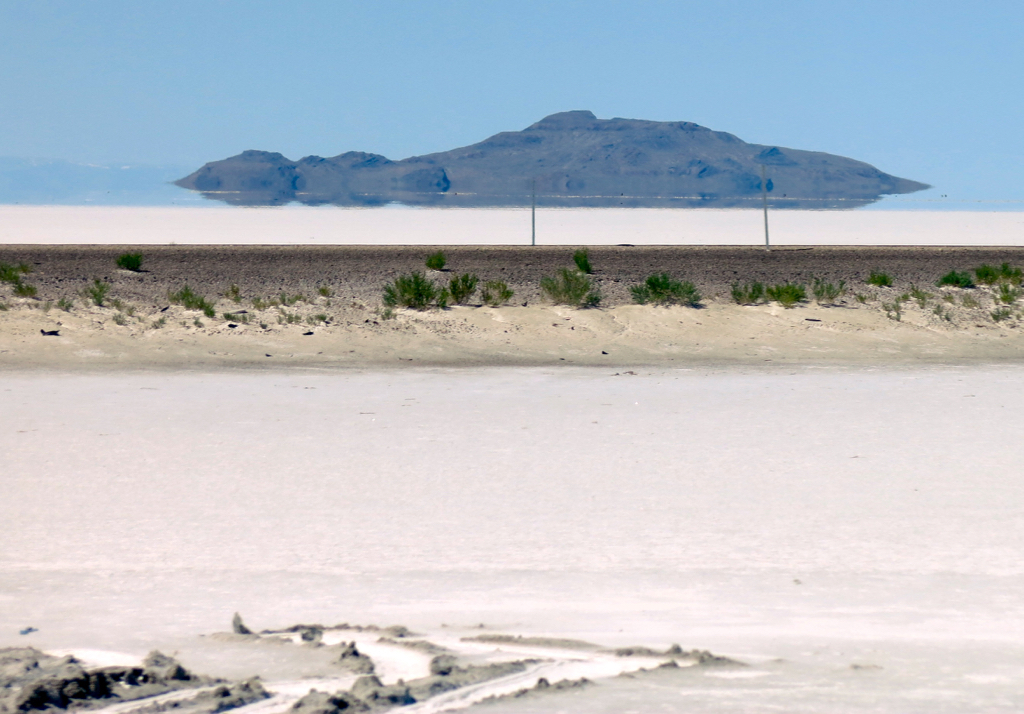
Above: Near mile marker 16 on Interstate 80 in Utah.