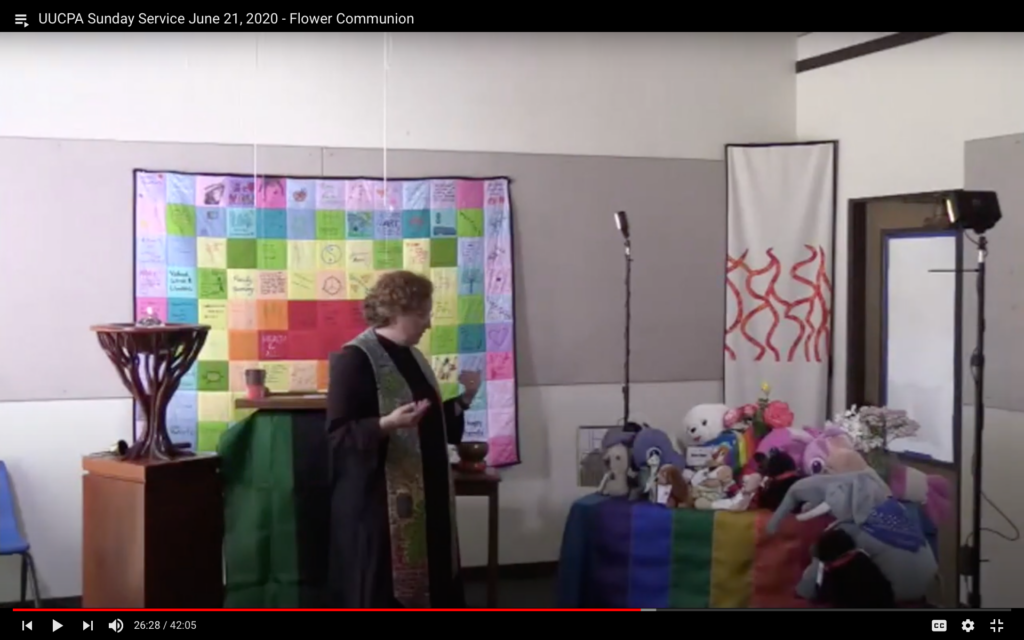
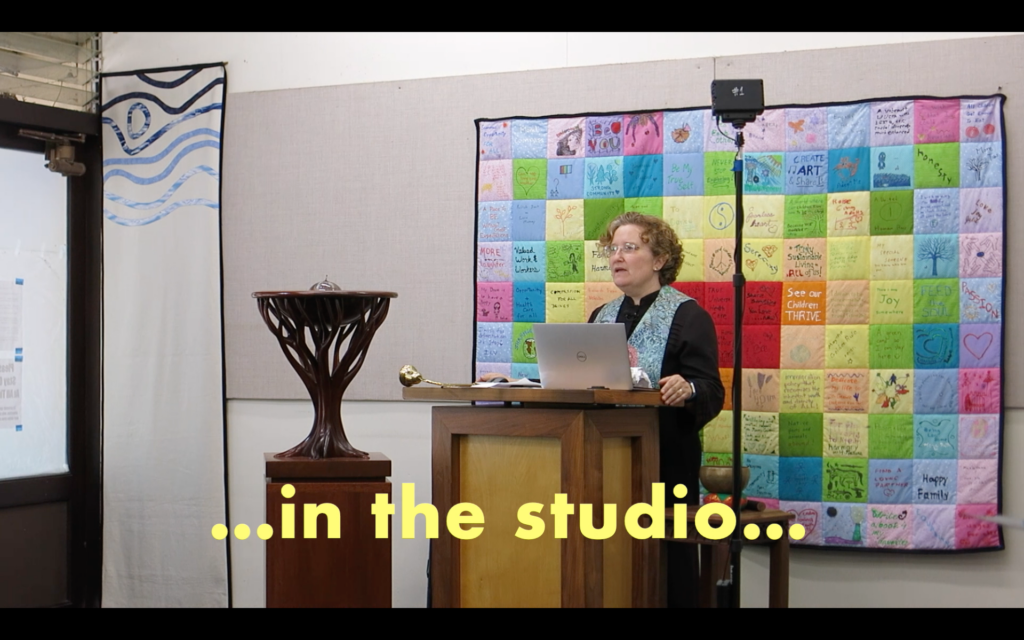
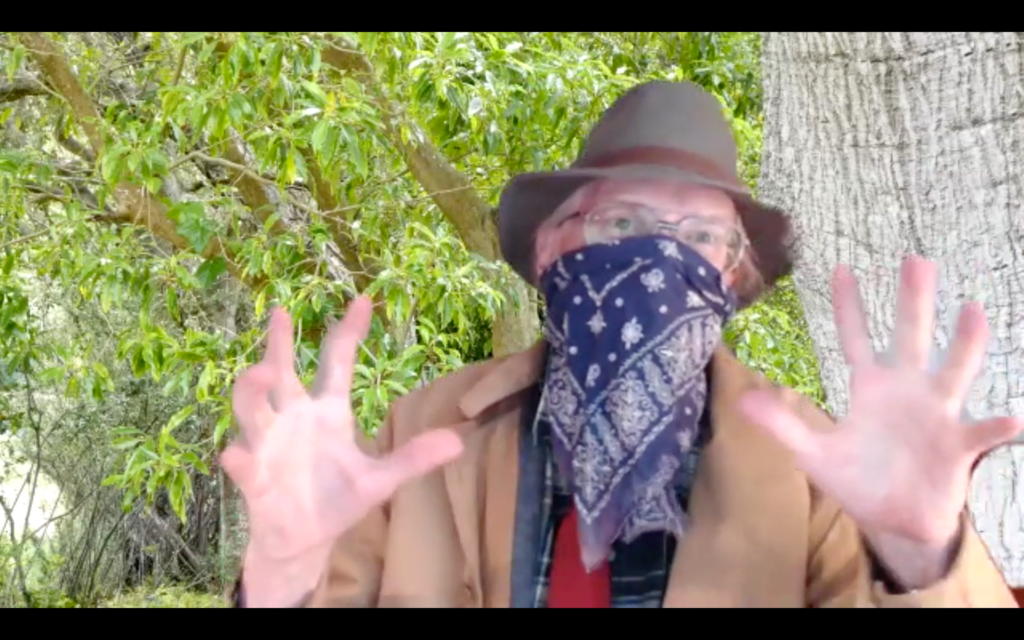
The stuffies who were staying on the Stuffed Animal Sleepover appeared in the worship service today, and participated in the Flower Communion. Here’s a photo of the senior minister, Amy Morgenstern, welcoming the stuffies to the service:
Yet Another Unitarian Universalist
A postmodern heretic's spiritual journey.
The stuffies who were staying on the Stuffed Animal Sleepover appeared in the worship service today, and participated in the Flower Communion. Here’s a photo of the senior minister, Amy Morgenstern, welcoming the stuffies to the service:
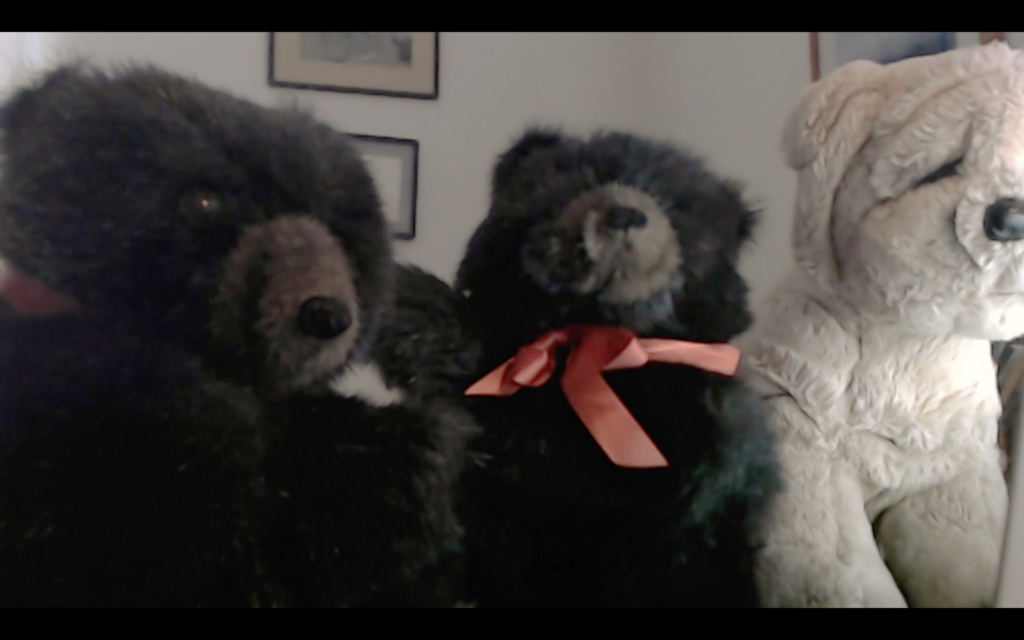
A video to introduce the stuffed animal sleepover:
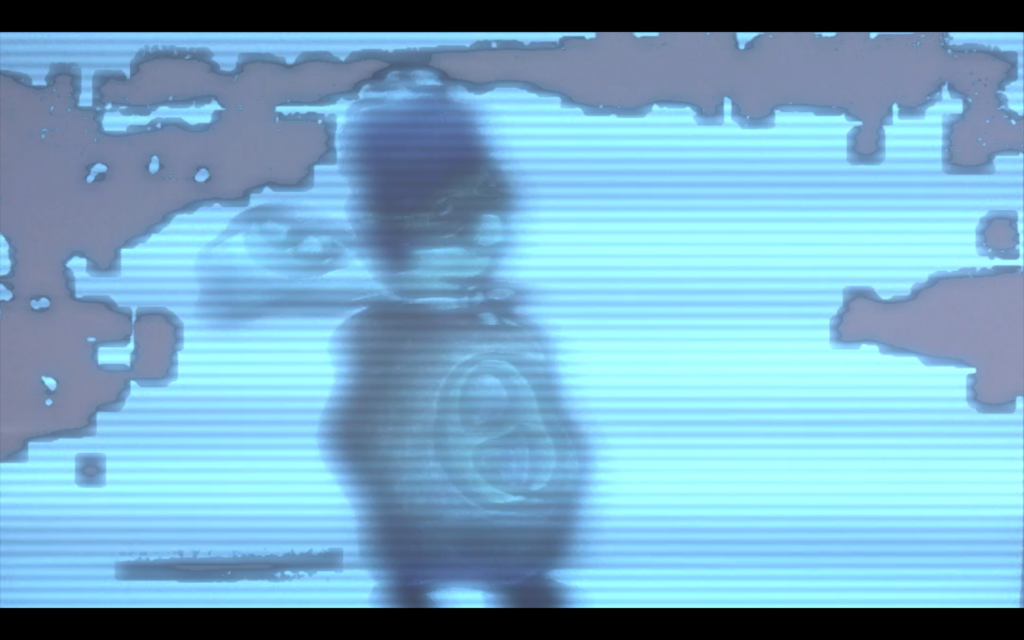
The fourth and final installment in the Ecojustice Avenger series:
The third installment of the Ecojustice Avenger video series:
It’s been interesting watching to see what online religious education resources people actually use. How-to craft videos? Single digits for number of views. Read-aloud programs? Low double digits, if I’m lucky. It’s not a great return for my invested time.
But what about “Story for All Ages” videos that are included in the Sunday service? We typically get over a hundred log-ins to our Zoom worship services, probably representing 1.5 humans on average, and posting on other social media (Facebook Live, Youtube) might add 10-30 views to the total. Plus a lot of informal positive feedback. These videos are definitely a better return for the time I invest, and as a result that’s what I’ve been concentrating on recently.
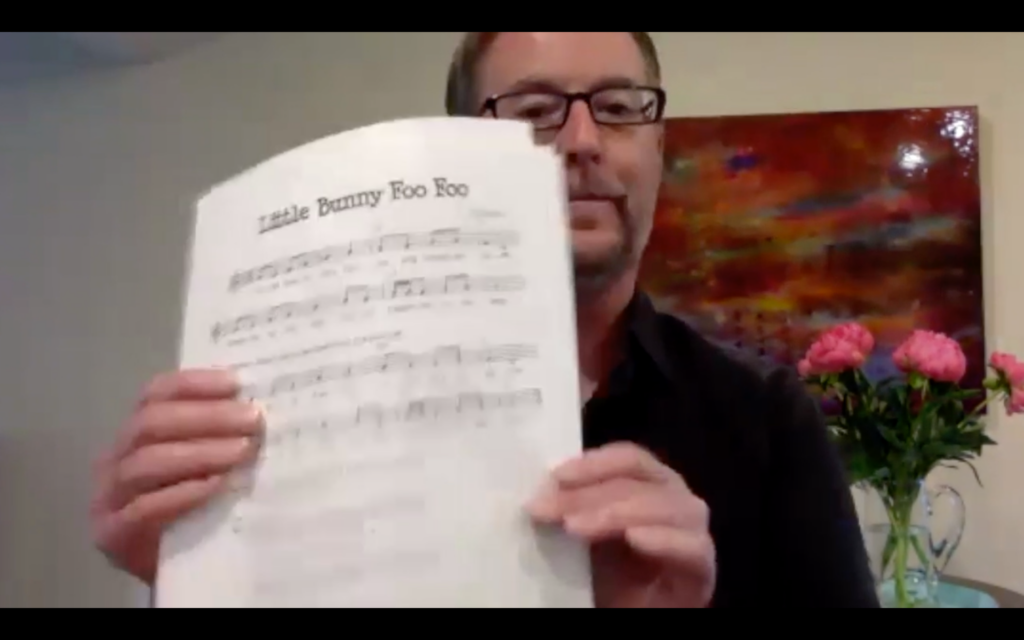
Since the “Story for All Ages” gets the largest audience, I thought maybe I’d try a tie-in video. The current “Story for All Ages” video series is about the conflict between Ecojustice Avenger and a dastardly villain named Trashman. The Ecojustice Avenger videos have a 12 second jingle, and after two episodes some kids had memorized all the lyrics to the jingle. That inspired me to expand that 12 second jingle to a full 1:41 music video, with videography inspired by Nam June Paik:
Will this reach kids? Maybe…probably not. But doing religious education in the age of COVID-19 requires constant experimentation until we discover what we can do that will reach kids.
The second installment in the Ecojustice Avenger series:
The first installment of the Ecojustice Avenger series:
The sixth installment of the Back in Time series:
The fifth installment of the Back in Time series:

I’m still trying to figure out how best to deliver kid-friendly and parent-friendly religious education during the age of shelter-in-place.
Videoconference Sunday school, using Zoom, works well for some families. For younger kids, the format that works best centers around a story, followed by some kind of activity to go with the story. Middle schoolers tend to want more peer interaction.
But with any age, kids (and parents) who have had enough videoconferencing through school won’t attend. How to reach them? I got feedback from some parents that online videos might be useful, IF they didn’t require parental supervision.
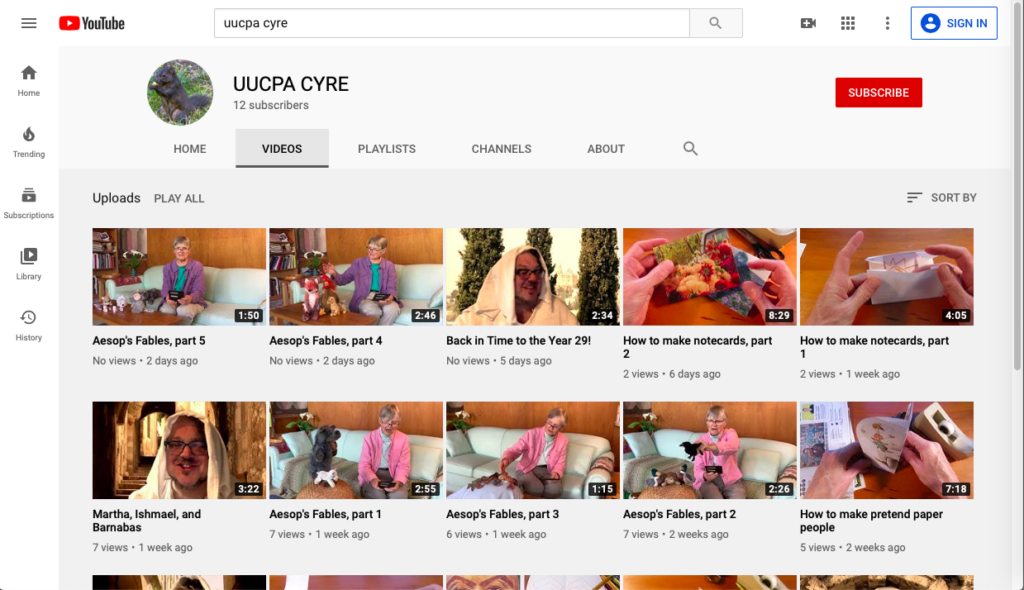
So I’ve slowly been building up a library of on-demand videos that, while not explicitly religious in nature, at some level promote UU values. Here’s some of what I’ve collected on the UUCPA CYRE Youtube channel:
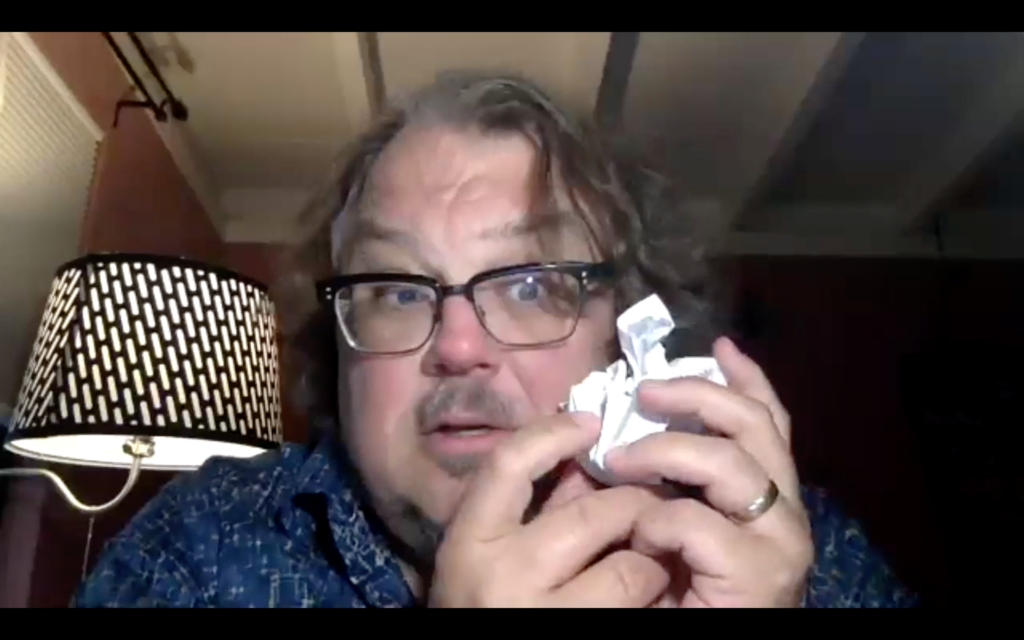
A series of “How To Make” videos, that mostly require easily obtainable materials like scrap paper, scissors, a pencil, and maybe crayons and sticky tape. These videos show how to make things that promote imaginative play and give children a sense of active engagement and agency. With these, my goal as an educator is to move kids away from being passive consumers of online content, towards actively creating their own imaginative lives.
There are several series of read-aloud books. Senior minister Amy Morgenstern is reading aloud the classic book “The Secret Garden.” Children’s librarian and member of our congregation Beth Nord is reading aloud Aesop’s Fables (with help from her stuffed animal friends); a fun way to do moral education. Abby Kingsbury, UU and children’s librarian (and my sister) is reading aloud Alice’s Adventures in Wonderland and Through the Looking Glass; Abby describes Alice as an empowered girl protagonist who questions authority.
But this is very much a work in progress. I’m still trying to figure out how to provide the best content for kids that promotes UU educational values. If you have ideas for content I could create, I’d love to hear them! Or if you know videos created by UUs that I should consider adding to curated lists, let me know: ![]()