
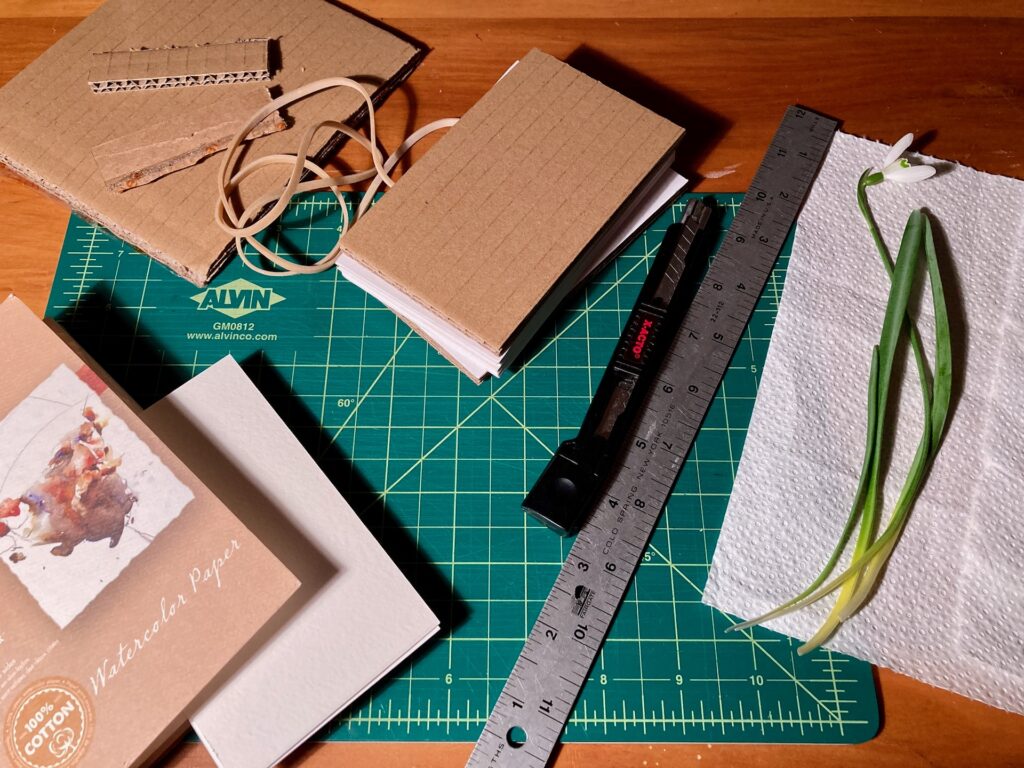
(1) This pocket plant press is made from a stack of 3 x 5 index cards, salvaged corrugated cardboard, cheap watercolor paper, and rubber bands. Cut two pieces of corrugated cardboard to 3 x 5 inches. Cut two pieces of cheap watercolor paper to the same size. Find a flower, and blot it dry with paper towels.
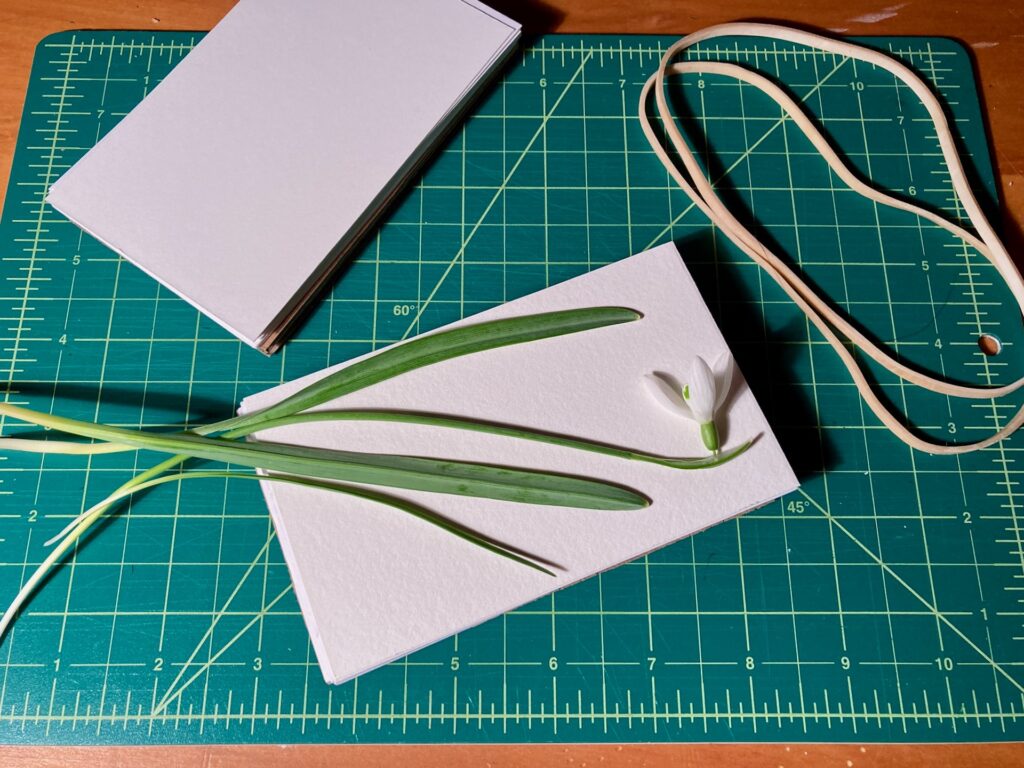
(2) Place one piece of corrugated cardboard down. Stack half the file cards on top of it. Place a piece of watercolor paper on top of that. Arrange the flower on this stack. Then make another stack of corrugated cardboard, file cards, and watercolor paper.
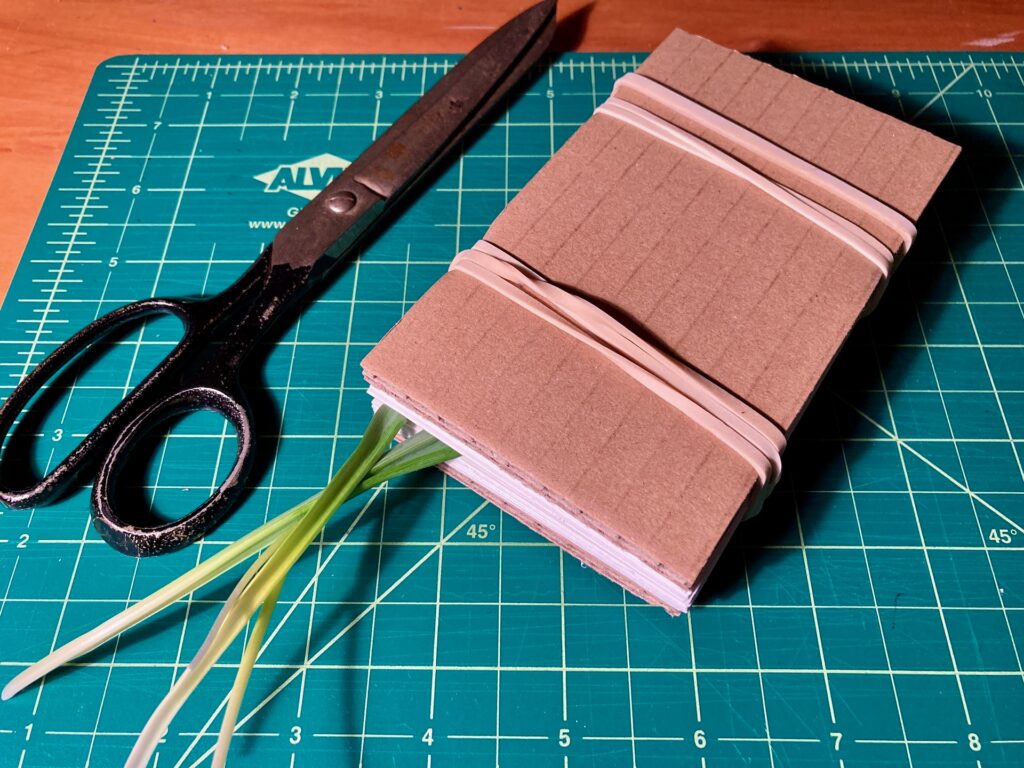
(3) Assemble the stack with the corrugated cardboard on the outside. Wrap the assembly with the rubber bands. If the stem of the flower is sticking out, you can trim it off with scissors.
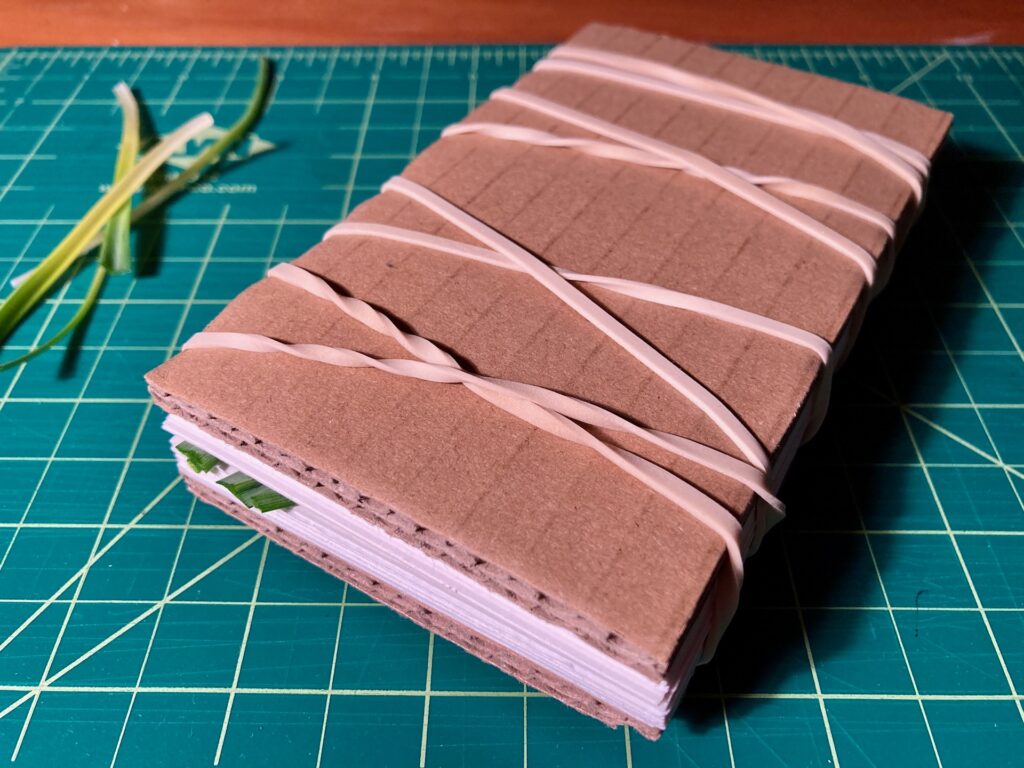
Now let it dry for at least a week. Longer if the weather is humid, or the flower is especially moist. If you want the flower really flat, stack some heavy books on top of the plant press.
The watercolor paper takes the place of blotter paper in a real plant press. In some cases, the pressed flower may leave a colored image on the watercolor paper, so with some experimentation you should be able to use this technique to make pressed flower monoprints.
The stack of file cards makes the plant press stiffer, and helps spread the pressure of the rubber bands out evenly. You can also press several flowers in this plant press by using alternating layers of file cards, watercolor paper, and flowers.
(This is a follow up to this post. And for the finished product, see this post.)